I had no idea how to get the bees off the fence into a hive, so Art was a great help. Here's how we did it:
So our plan A was to prune the bush they were hiding behind, then carefully take the comb off the fence and put it into frames. So we started out pruning the bush, the bees were extremely calm and manageable, we didn't even need to use gloves or veils:

Here is the full size of the hive once everything was trimmed. It's probably about 1 and a half feet tall and almost a foot deep as well. Looks like they have definitely been living here for about a month. We put a tarp down to catch any bees that fell:

Great! Plan A is going so well! Wait... I spoke too soon. We only had the hive fully exposed long enough to put up the tarp and snap that last picture. Then this happened:

Not sure what that is? The entire hive fell off of the fence at once. When it hit the ground, bees flew everywhere. It was literally an explosion of bees. It probably happened for a few reasons, the hive was probably partially supported by all those branches we cut away, the sun was setting and shining directly on the hive (which warmed the wax enough to melt the connection to the fence), and the hive had a surprising amount of honey in it (making it quite heavy).
Ok, plan B: scoop up the bees and put them into a hive, also pray that the queen didn't get crushed to death. Here is how we put the pieces of comb into frames, you cut chunks of the hive to the right size and then tie them in with cotton string. Once in the hive for a few days, the bees will patch up the comb and attach it to the frame:

We managed to salvage about 5 frames of comb (if plan A had worked out, we were expecting to get 10+ frames). We did need to check through all the little bits of comb to make sure we didn't miss the queen. here is Art shaking some bees into their new home:

After we were done, we filled up the box with frames that had foundation on them and then put another medium on top. We left the cover askew so that the scent of the queen would attract the stray bees left on the lawn and fence:
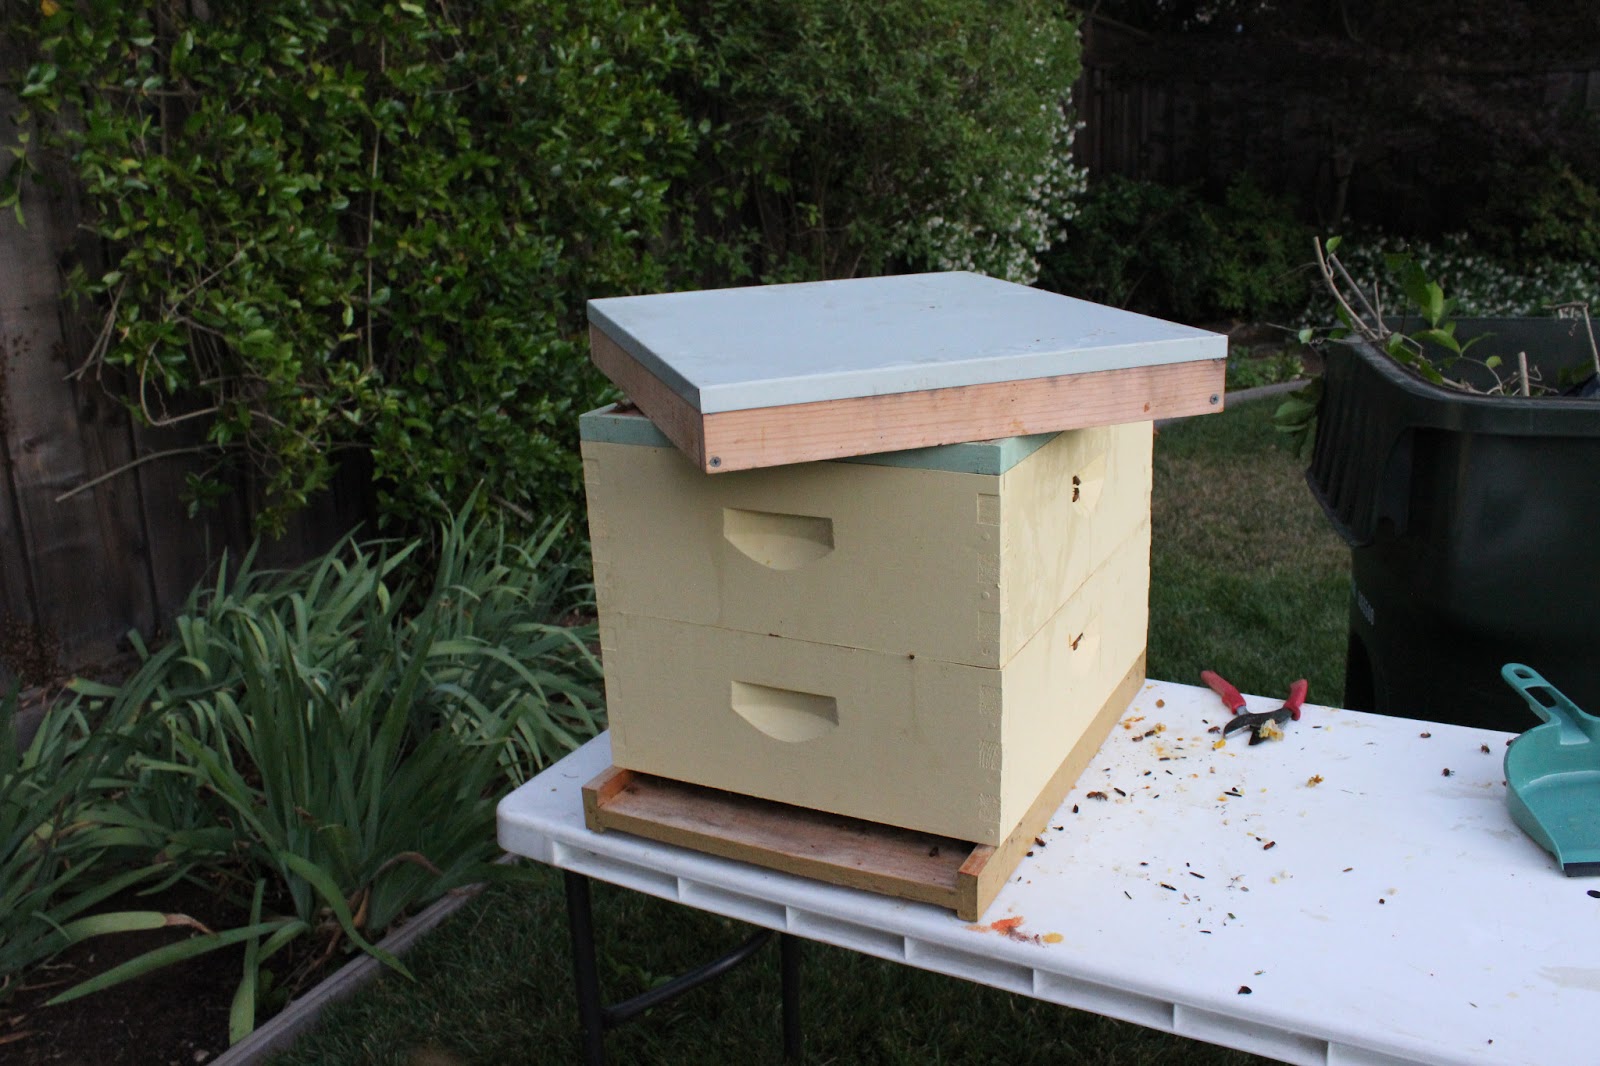
It was a really good sign that the bees at the top of the hive and around the entrance were "fanning". Fanning is when they stick their butts in the air and fan their wings. I've seen bees doing this when the hive is hot - then they are doing it for ventilation. However, in this case the bees are doing it to fan the scent of the queen out around the new home. This means that the bees think the queen is in residence inside the new yellow hive:

We made sure to remove as much of the scent from the fence location as possible. There were little nubs of wax on the branches, Art said these were "scent tabs". Essentially little bits of wax that smell like the queen to attract bees that got a little lost in the swarming process. We left the hive near the fence location so the bees would go to the new hive rather than cling right back to the fence. Here are the "scent tabs":

I'll check back in on these guys in a week or so to remove all that string and make sure they are liking their new home :) Luckily there were plenty of eggs in the comb we put in the hive, so if the queen was lost in the fall, they should be able to make a new one. Hopefully the fanning means we got her in there though.
No comments:
Post a Comment