Thursday, August 6, 2015

Crispy Honey Garlic Chicken

I originally made this recipe for a Honey Cook-Off a few years ago. It's so delicious that I wanted to make a post specifically for it :-)


Total Time: 45 minutes (20 minutes prep, 25 minutes cooking)

Ingredients:

Honey Garlic Sauce: 
  • 2 tablespoons olive oil
  • 3 garlic cloves, minced
  • 1 cup honey
  • 1/4 cup soy sauce
  • 1 teaspoon fresh ground black pepper
Flour Coating Mixture: 
  • 2 cups flour
  • 2 tablespoons powdered ginger
  • 1 teaspoon cayenne pepper
  • salt
  • 1 tablespoon fresh ground black pepper 
The Rest: 
  • 2 eggs, slightly beaten
  • 4 tablespoons cold water
  • 10 chicken legs
  • vegetable oil
Directions:


1. Put about 2 inches of vegetable oil into a large flat frying pan. Turn the heat on to medium-low. Don't overheat the oil (I aim for about 340 degrees). If you're not using a cooking thermometer - I usually run my hand under water and shake a few drops into the frying pan at this point. When the water starts to sizzle, the oil is the right temperature. If the water just sits still, it's too cold, if the water causes the oil to pop and spatter everywhere, it's too hot. A splatter screen is very useful for this.


2. While the oil is heating up, mix together the 'coating mixture'; set aside. 


3. In a separate bowl, whisk together the slightly beaten eggs and cold water. 


4. Wash and pat the chicken legs dry. 


5. When the oil is up to temperature, dip the legs into the egg wash and then toss into the flour mixture to evenly coat. Place as many legs as you can into the pan. Let the legs cook for 3-4 minutes or until that side starts to brown, then turn 1/4 turn. Turn and cook until all sides are browned. In total, you want to cook the chicken for about 15 minutes.

Gently place the chicken into the oil so it doesn't splash (the oil will start to bubble as soon as you add the chicken). I am impatient, so I batter my chicken and throw it into the oil immediately. You can end up with a blotchy fried coating if you do this. If you want a really well-coated fried chicken, let your flour-covered chicken rest for 10 minutes on a wire rack before placing it into the oil. This will allow the coating to stick to the chicken better:


Once you add the chicken to the oil, aim to keep the temperature between 300 and 325 degrees. If you're not using a thermometer, your chicken should be enthusiastically bubbling. If you hear loud pops, the oil is a bit too hot. When your oil is too hot, you risk having an over-done outside and an under cooked center. If the bubbling is calm or non-existent, your oil is too cold. When your oil is too cold, it may take longer for your chicken to cook, and you'll end up with a greasier end product. If you need to adjust your temperature, do so in small increments (don't blast the heat or turn it all the way down). Here is what your cooking chicken should look like:


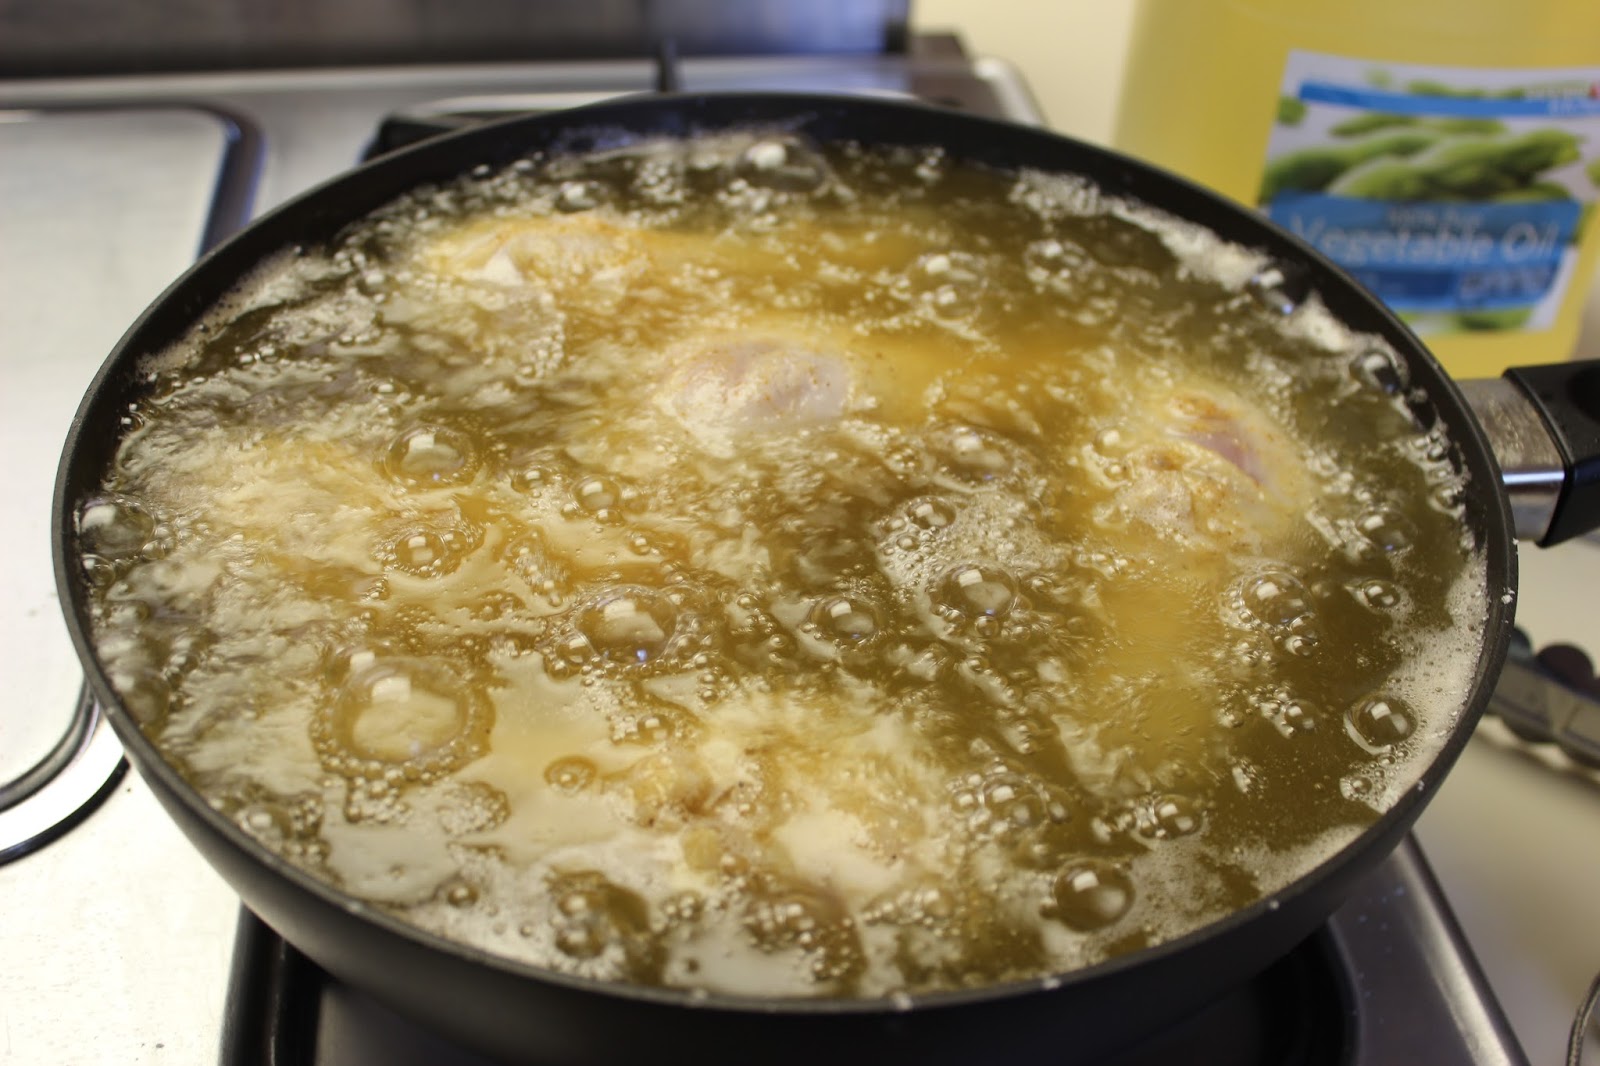
As you might have noticed, I have added too much oil. The important thing is that I cook the chicken for about 15 minutes total, so I cooked the chicken for 8 minutes, then flipped it once and cooked it for another 8 minutes.

6. While you're cooking the chicken legs, you can prepare the sauce: In a medium sauce pan, cook over medium heat the olive oil and garlic to slightly soften; do not let it brown. Add the honey, soy sauce and black pepper. Continue to cook over medium heat and simmer sauce for 5-10 minutes, watching carefully as it simmers because it can foam up and overflow (REALLY! My sauce nearly overflows almost every time I make this, so don't turn your back for long). Remove from heat. You can also do this part in the microwave - but watch it carefully, you really only want to warm it up.


Your sauce will be the consistency of warm sryup when it is finished - less thick than honey, but thicker than water. I like to serve mine in a gravy boat for easy pouring (basically something with a spout, a measuring cup will do):


7. When the legs are done cooking, I like to place them on a paper towel on a wire rack for a few minutes. This wicks away a little bit of excess oil (just in case my oil was too cool at some point). The dry chicken should look like this:


8. To serve, place the chicken on a plate and then liberally pour the sauce over them. I suggest serving this with a salty vegetable. Enjoy!


Monday, August 3, 2015

Creamed Honey

I made another batch of creamed honey the other day, here are some pictures!

What is creamed honey? Creamed honey is honey that has crystallized with very small crystals. Usually when honey crystallizes you'll see large granules, which yields a crunchy texture. Creamed honey is very smooth, almost the consistency of room temperature butter. The crystals are so small that you can barely feel them on your tongue. Creamed honey is also opaque, unlike liquid honey. Here you can see the difference (the creamed honey is much more pale):


To make creamed honey, you start with a seed crystal (I used Trader Joe's Creamed Honey). The seed crystal is mixed with liquid honey and starts a chain reaction, causing the liquid honey to crystallize in the same way as the seed (rather than naturally which may yield large crystals).

There are more complicated ways to make creamed honey (such as the Dyce Method) which involves heating the honey to destroy any yeasts and already existing crystals. The more complicated methods are said to yield more consistent, higher quality results.

That being said, I like my simple method that allows me to use raw honey. Not heating the honey is not only easier, but it preserves the natural enzymes.

I typically make 10lb batches of creamed honey at a time, because that is what fits well in my mixer :-) You'll need:

  • 10% Creamed Honey (1lb) - this should be of a quality that you want in your liquid honey. I started with Trader Joe's Creamed honey, now I can use my own creamed honey!
  • 90% Liquid Honey (9lbs) - It works best if this honey is freshly harvested, and not cloudy. If your honey is cloudy, it may have already started crystallizing and those crystals will compete with the small creamed crystals that you want.
  • A kitchen mixer or I've seen people use mixer attachments for their drills (a clean one!)
  • Wide-mouth jars or tubs. This will be the final serving container for your honey, as it will solidify in the container as it crystallizes.
First pour all of your liquid honey into your mixer (or a 5-gallon bucket if you are going to mix by hand or with a drill attachment). I've got my creamed honey next to the mixer bowl filled with liquid honey. You can see that the creamed honey is solid enough to hold its shape if you take a spoonful out, you can also see how light in color the creamed honey is compared to the liquid honey. When the liquid honey crystallizes, it will lighten to that color too.


Add your creamed honey to your mixing bowl/bucket. You want to stay between 5% and 10% creamed honey. Less than 5% and you run the risk of larger crystals forming. It's not a big deal if you use over 10%, it's just unnecessary since 10% should be plenty of seed crystal.


Mix the liquid and creamed honey thoroughly. You don't want to whip air into the honey, so use the lowest speed. Make sure that the honey is completely mixed together so that the seed crystals are evenly distributed.


Now that the honey is completely blended, pour it into your containers. I use a 5 gallon bucket that has a spout so I can easily fill my jars. You can also just pour the honey out of the bowl, but you might want a helper to scrape/aim so your kitchen doesn't end up a sticky mess (which may be inevitable anyway). I also usually pour off about a pound into my original container to save 1lb of creamed honey for the seed for next time. Each time I make a new batch of creamed honey, it is more and more of my own honey and less of the Trader Joe's honey. The first generation is 10% Trader Joe's, the second generation is 1% Trader Joe's and so on. 

Here is what the freshly mixed creamed honey looks like next to set creamed honey. It will take about a week at 60 degrees for the newly mixed honey to fully crystallize. It may take longer at other temperatures, the faster the honey crystallizes, the more it will take on the characteristics of the seed crystal. I have a little wine fridge that I use for setting my creamed honey at 60 degrees. Left: Creamed Honey, Middle: Newly mixed Creamed Honey (90% Liquid, 10% Creamed), Right: Liquid Honey


Enjoy!